
How-to
Mold on Fridge Door Seals: How to Clean It Without Damaging the Gasket
Direct answer
Open the folds and scrub with a neutral fridge cleaner and a soft toothbrush, then wipe with clean water and dry fully. Black stains that soaked into the gasket may not come out. If the seal is stiff, cracked, or leaks cold, replace it.
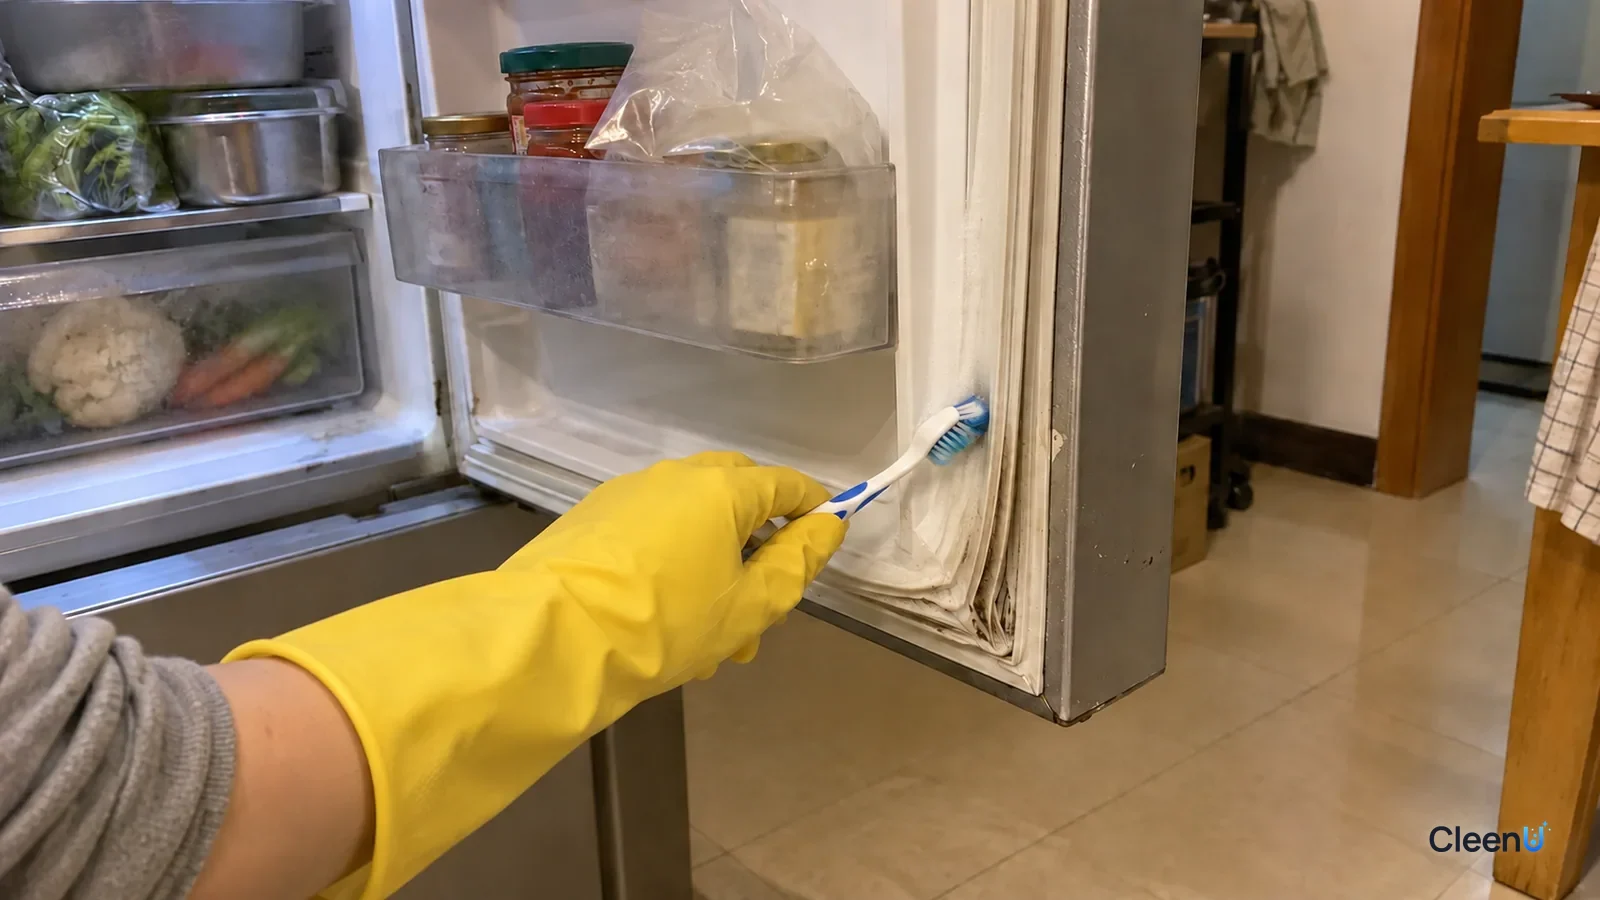
The door seal is the most overlooked part of a fridge. Its folds catch soup, juice, and crumbs every time the door opens, and condensation keeps them damp. Over time you get black dots, pinkish slime, and a musty smell that spreads through the whole fridge.
Why door seals mold so easily
Lots of folds: the gasket is a series of grooves, and food bits that fall in don't come back out on their own. They become food for mold.
Moisture: every time the door opens, warm air hits the cold edge and condenses. The bottom of the seal stays especially wet.
Rarely cleaned: most people wipe the shelves and walls but never pull back the seal.
Gaskets are soft plastic or rubber with tiny surface pores. When mold sits there long enough, its pigment soaks into the material and leaves black stains that won't wipe off. The sooner you clean it, the better.
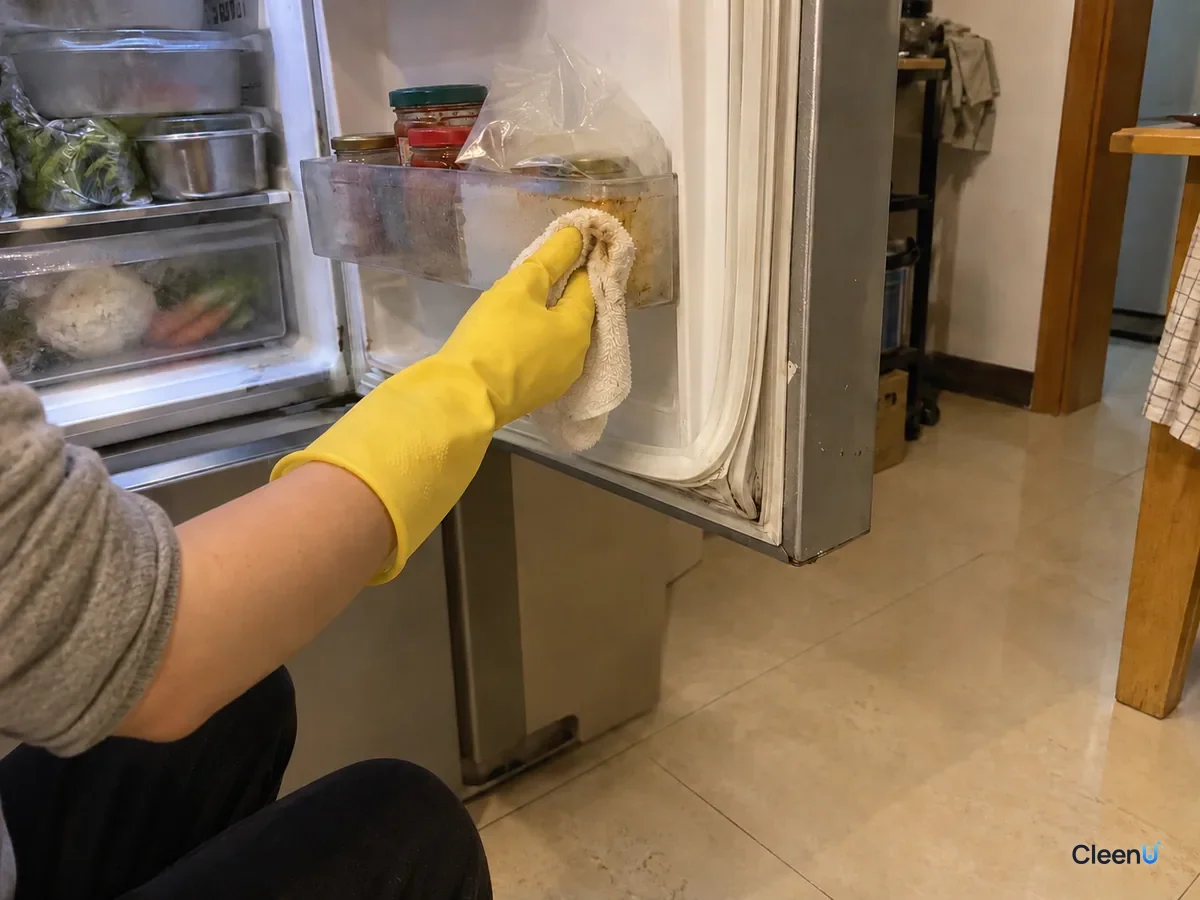
The grime on a door seal is really three layers
What looks like "dirt" on a fridge gasket is rarely one thing. On top is food residue: dried soup, milk, and juice that leave behind sugars, proteins, and a little fat. It feels tacky and grabs dust and crumbs. Under that is a microbial film growing on the residue, the pink or gray slime people notice, slippery to the touch with a musty or sour smell. Deepest of all is mold pigment. When mold sits on the gasket for a long time, its dark pigment works into the tiny pores of the rubber or soft plastic and becomes the black speckling that won't wipe off.
Each layer calls for a different approach. Sugar and protein residue softens again once it's wet, so wetting and a short dwell loosen it. Slime needs a surfactant to lift it off the gasket and toothbrush bristles to sweep it out of the folds. Pigment that has gone into the material isn't surface grime anymore; no cleaner can reach it, so you either live with it or replace the seal. Knowing which layer you're looking at tells you when to keep brushing and when to stop.
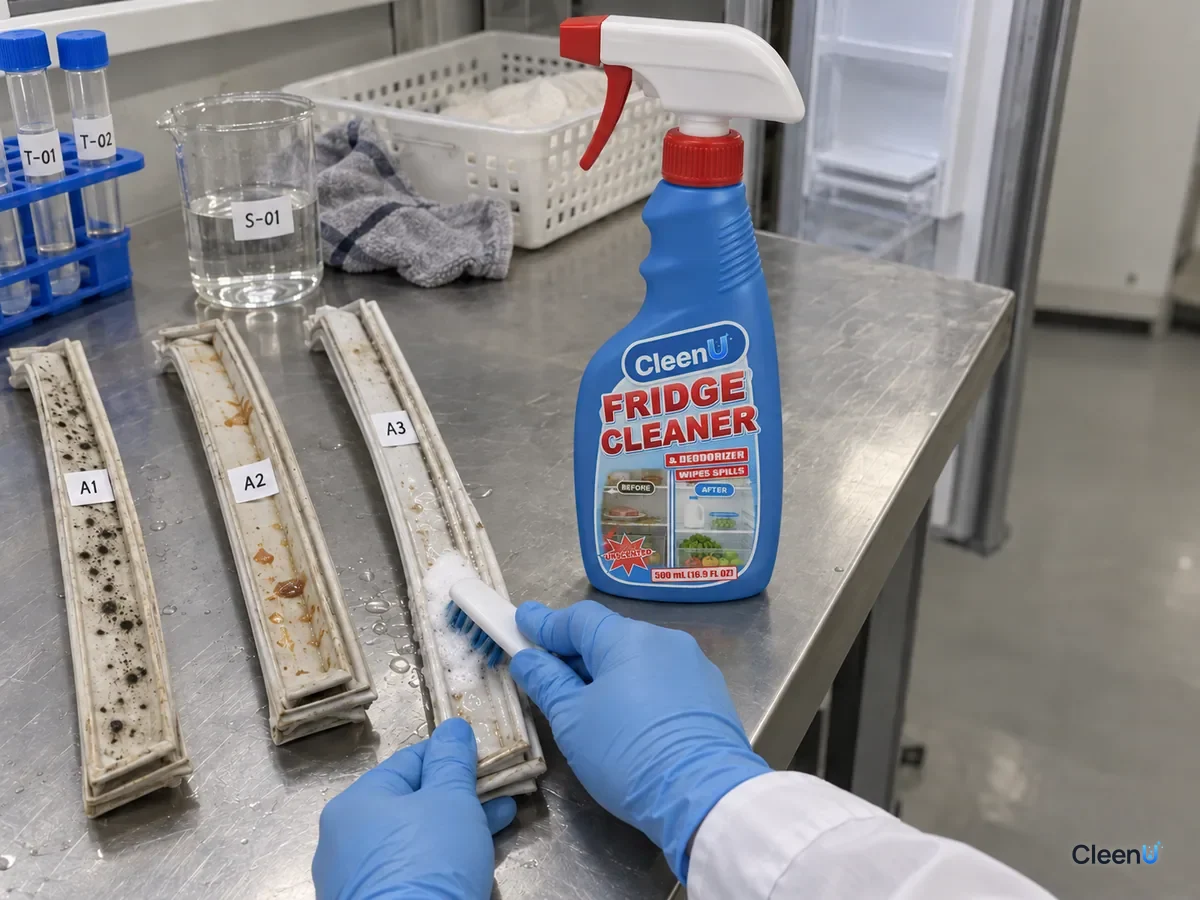
What a neutral cleaner does here
A fridge gasket doesn't need strength. It needs enough cleaning power without hurting the rubber. The nonionic surfactants in a neutral cleaner do two jobs. They wet the surface, so liquid gets down into the narrow folds instead of beading on top. They also emulsify and disperse grease and slime so the cloth and brush can carry them away. Cyclodextrin-type deodorizing ingredients trap some odor molecules, which cuts down on lingering smells after you wipe.
A strong alkaline degreaser or solvent-based kitchen spray might clear slime faster, but repeated contact can leave the gasket stiff or tacky and shorten its life. Abrasive powders scratch the surface, and every scratch becomes a new place for grime to collect. Giving a neutral cleaner a little more dwell time and brushing is the better trade.
Clean the door seal in six steps
Six steps to a clean fridge door seal
Prep and protect
Put on gloves and move anything on the door shelves that blocks the seal. If you'll have the door open a while, adjust the setting or switch the fridge off per its manual, and put perishables in a cooler bag.
Remove loose debris first
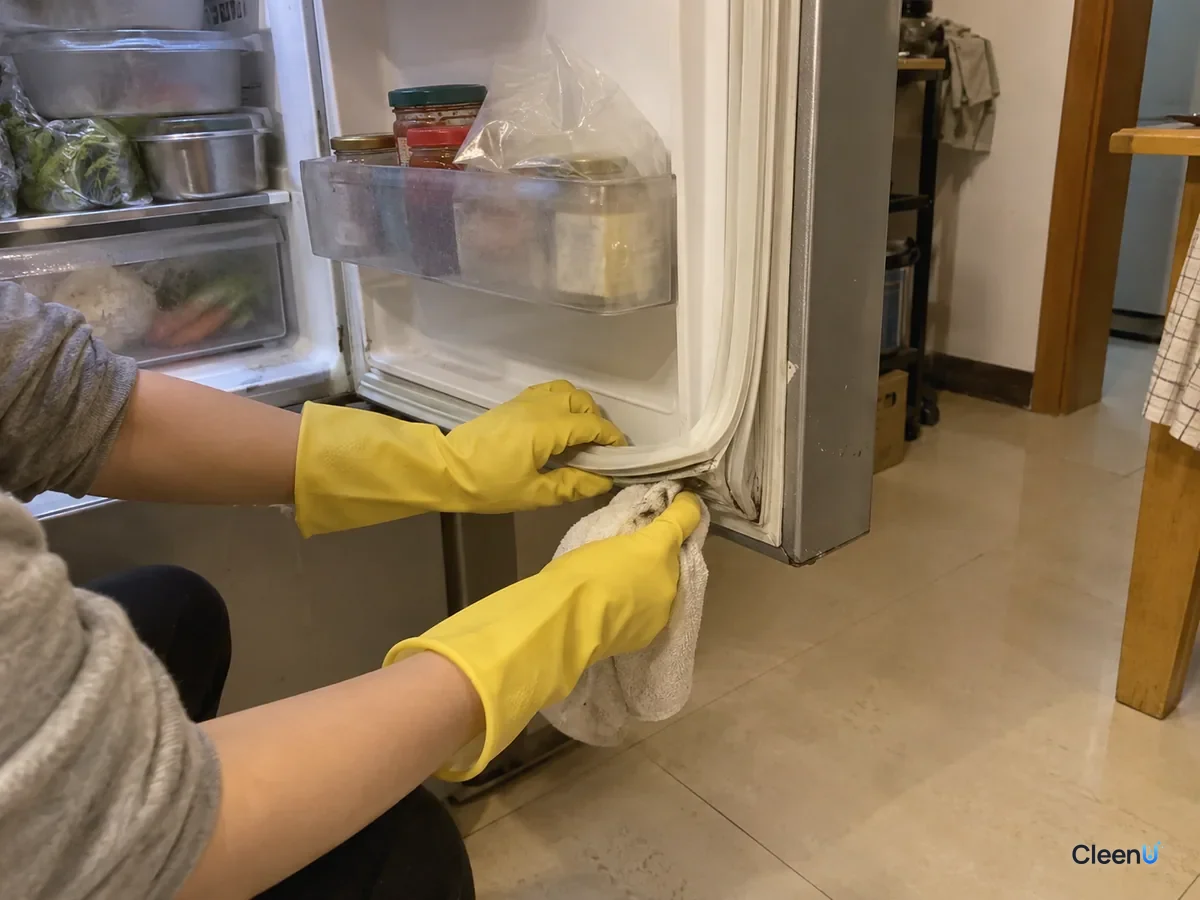
Spread the folds with your fingers and brush crumbs and dried bits out with a dry cloth or soft toothbrush. Don't wipe with a wet cloth yet, or you'll push debris deeper into the grooves.
Spray the cleaner onto the cloth and brush
Spray a neutral fridge cleaner onto the cloth or toothbrush, not straight onto the seal, so liquid doesn't run behind the gasket into the door. Work along the folds section by section and use cotton swabs for deep grooves.
Caution:No steel wool, stiff brushes, or blades. A scratched gasket collects more grime and may not seal well.
Let it sit, then wipe
Leave it about 1 minute per the label, then wipe away the loosened grime. Surface mold and slime usually come right off; repeat on stubborn spots.
Wipe again with clean water
Use a wrung-out cloth dampened with clean water to remove cleaner residue from the seal and folds, so nothing is left to attract dirt or touch food.
Dry thoroughly before closing
Blot every fold dry with a towel and leave the door open a few minutes before closing. Pay special attention to the bottom of the seal, or mold will be back soon.
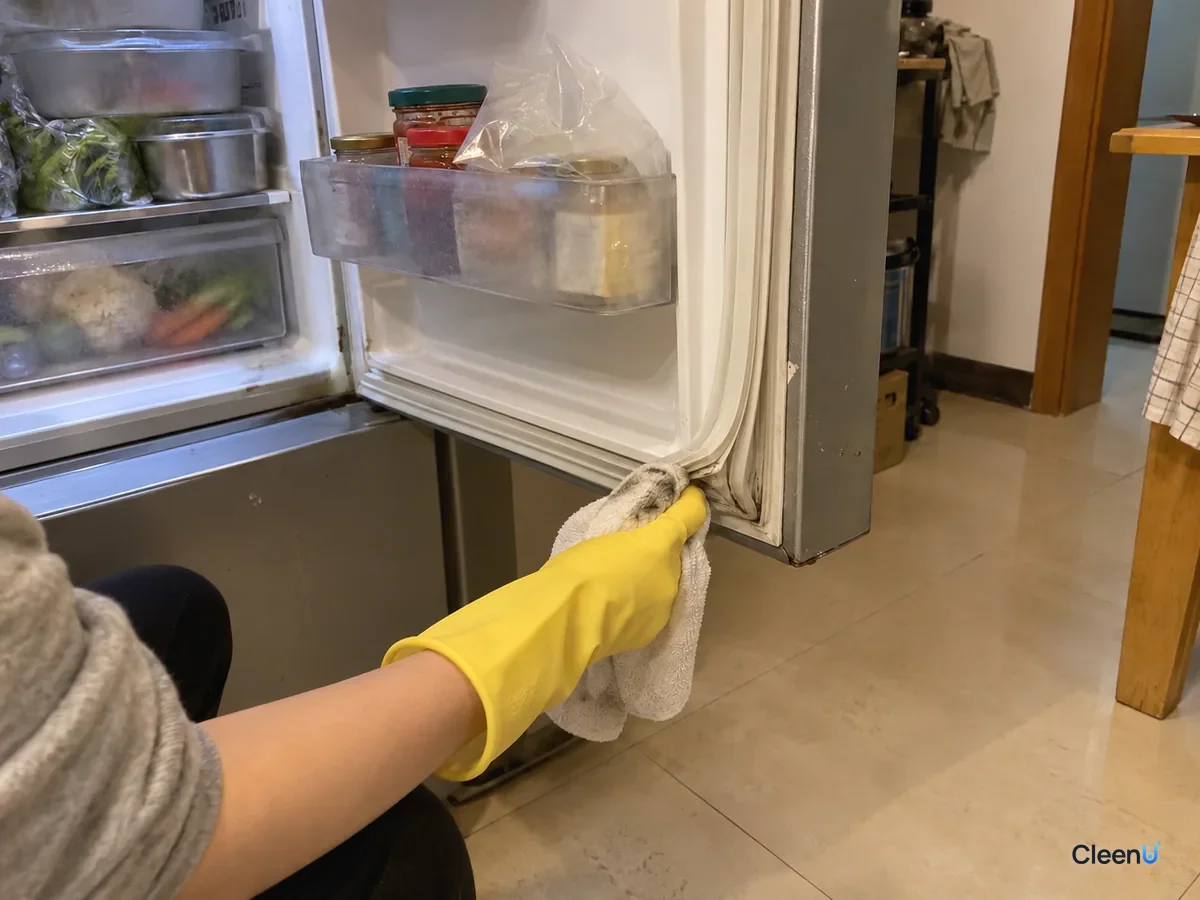
Brush direction and order matter
Grime in the folds tends to migrate to the deepest point. Brush along the length of each fold, one section at a time, instead of scrubbing back and forth across it, which pushes slime deeper into the groove. After each section, wipe away what you've loosened and swish the toothbrush in clean water so you don't carry mold film to the next stretch.
Do the top and sides of the door first and the bottom edge last. Condensation pools along the bottom, so that's where the most grime sits. Saving it for last means dirty runoff from above gets cleaned up in the same pass.
How to tell when it's clean
Three quick checks work well. Run a damp white cloth through a fold: it should come away without obvious gray, black, or pink. Touch the gasket: it shouldn't feel tacky or slick. Sniff up close: no musty or sour smell. If all three pass, move on to drying.
If the cloth still picks up color or the rubber still feels slippery, the slime isn't gone; spray again, let it sit, and brush once more. If the cloth comes up clean and the surface feels normal but you can still see dark specks, that's pigment inside the rubber. More brushing won't lighten it and will only rough up the surface, so this is where you stop.
What if black stains won't come off?
If gray-black spots remain after you've cleaned off surface mold and slime, mold pigment has most likely soaked into the material. These stains are usually hard to remove completely, and scrubbing hard or soaking with strong acids or alkalis will only damage the gasket.
Here's how to decide what's next.
If the spots are just discoloration, with no musty smell or slime, and the seal is still soft and closes tightly, keep it clean and dry. The color doesn't affect how it works.
Some people treat leftover stains with a household chlorine bleach product diluted per its label. If you do, check your fridge manual first to make sure the gasket material can handle it, use a small amount on a small area for a short time, then wipe thoroughly with clean water, dry it, and air out the fridge. Never mix it with acidic or other cleaners. When in doubt, skip it.
If the seal is hard, cracked, or warped, a sheet of paper slides out easily when it's closed in the door, or you see frost by the door or weaker cooling, the seal isn't doing its job. Contact the manufacturer's service to replace it.
What cleaner to use in a fridge
The inside of a fridge touches food, so a cleaner should be mild, low-residue, and free of strong fragrance that food could pick up. Strong alkaline degreasers, chlorine products, and scouring powders aren't right for routine fridge cleaning.
Take CleenU Refrigerator Cleaner & Deodorizer as an example. It's a pH-neutral fridge cleaning and deodorizing spray, pH 7.0 to 8.5 as supplied, made with nonionic surfactants and cyclodextrin-type odor-control ingredients. It's fragrance-free, dye-free, and chlorine-free. Spray, wipe after 1 minute, then wipe again with a clean damp cloth. It's made for fridge walls, glass shelves, crisper drawers, door seals, and freezer interiors, for food spills and lingering odors. Don't spray it on food or toward wiring, control panels, or air vents, and don't pour hot water on cold glass shelves.
Keeping the seal from molding again
Wipe up spills by the door as soon as they happen.
When you clean out the fridge each month, wipe and dry the seal folds too.
Before closing the door, make sure no packaging is caught in the seal, so it closes tight and doesn't form condensation.
Fridge odors often come from the door seal and crisper drawers together. For the best order to clean the rest of the kitchen, see How to clean a kitchen.
Other odor sources in the fridge
If the seal is clean and the fridge still smells, look elsewhere. Common culprits are water and rotting leaves at the bottom of the crisper drawers, condensation backed up behind a clogged drain hole, soup that dripped under a shelf, and uncovered leftovers or strong-smelling food.
Work from the top down and take out whatever comes out. Remove the drawers and glass shelves and wash them at room temperature; don't run hot water over cold glass. Wipe the liner from top to bottom, then finish with the door seal and the floor of the fridge. Clear the drain hole with a soft tube or a cotton swab and wipe it with a clean damp cloth.
If you manage a short-term rental or an office kitchen, shared fridges are especially prone to moldy seals and mixed odors. Putting "wipe and dry the door seal folds weekly" on the cleaning checklist, and requiring leftovers to be covered or bagged, is much easier than dealing with mold after it sets in.
Stop if you see this
If the seal is cracked or coming loose, the door won't close tightly, frost forms by the door, or cooling gets noticeably weaker, stop and contact the manufacturer's service for repair or replacement. Don't pick at the seal with steel wool or blades, and don't spray cleaner into wiring, control panels, or vents. If you use a chlorine product, never mix it with acidic or other cleaners, then wipe thoroughly and air out the fridge.
For a fragrance-free, pH-neutral spray that wipes clean after 1 minute and is made for fridge walls, shelves, and door seals, take a look at our Refrigerator Cleaner & Deodorizer.
Moldy fridge door seals: common questions
Can I use kitchen degreaser inside the fridge?
No. Strong alkaline degreasers, chlorine products, and abrasive powders aren't suited to a food-contact interior and can stiffen the gasket. Use a mild, low-residue, unscented neutral fridge cleaner sprayed on a cloth, then wipe with a damp cloth.
Do I need a new gasket if black spots won't come off?
Not if it's only color: no musty smell or slime, the seal is soft, and the door closes tight. Replace it through service if it's hard or cracked, a sheet of paper slides out easily when the door is shut, or frost forms at the door edge.
What order should I clean the whole fridge in?
Top to bottom, removable parts first: take out drawers and glass shelves and wash them at room temperature (don't run hot water over cold glass), wipe the liner top down, then the door seal and bottom, clear the drain hole, and dry everything before restocking.
Fridge door seals mold because food bits hide in the folds and stay damp. To clean them, spread the folds, brush out dry debris, then work section by section with a neutral fridge cleaner sprayed onto a cloth and soft toothbrush. Let it sit about 1 minute, wipe, go over it with clean water, and dry every fold thoroughly. Black stains that have soaked into the gasket often won't come out; don't soak them in strong chemicals. A soft seal that closes tightly is fine to keep using; replace one that's stiff, cracked, or leaking cold. Wiping spills right away and cleaning the seal monthly is the simplest way to keep mold from coming back.