
Testing & Quality
How to Evaluate Robot Mop Cleaning Solution Samples: Foam, Residue, and Compatibility
Direct answer
Test at least three things: foam height and collapse at working strength, residue and feel after the floor dries, and material compatibility with tank plastics, seals and tubing. Once all three pass on the bench, run the target machines for several days and watch for false alerts, water flow and floor condition.
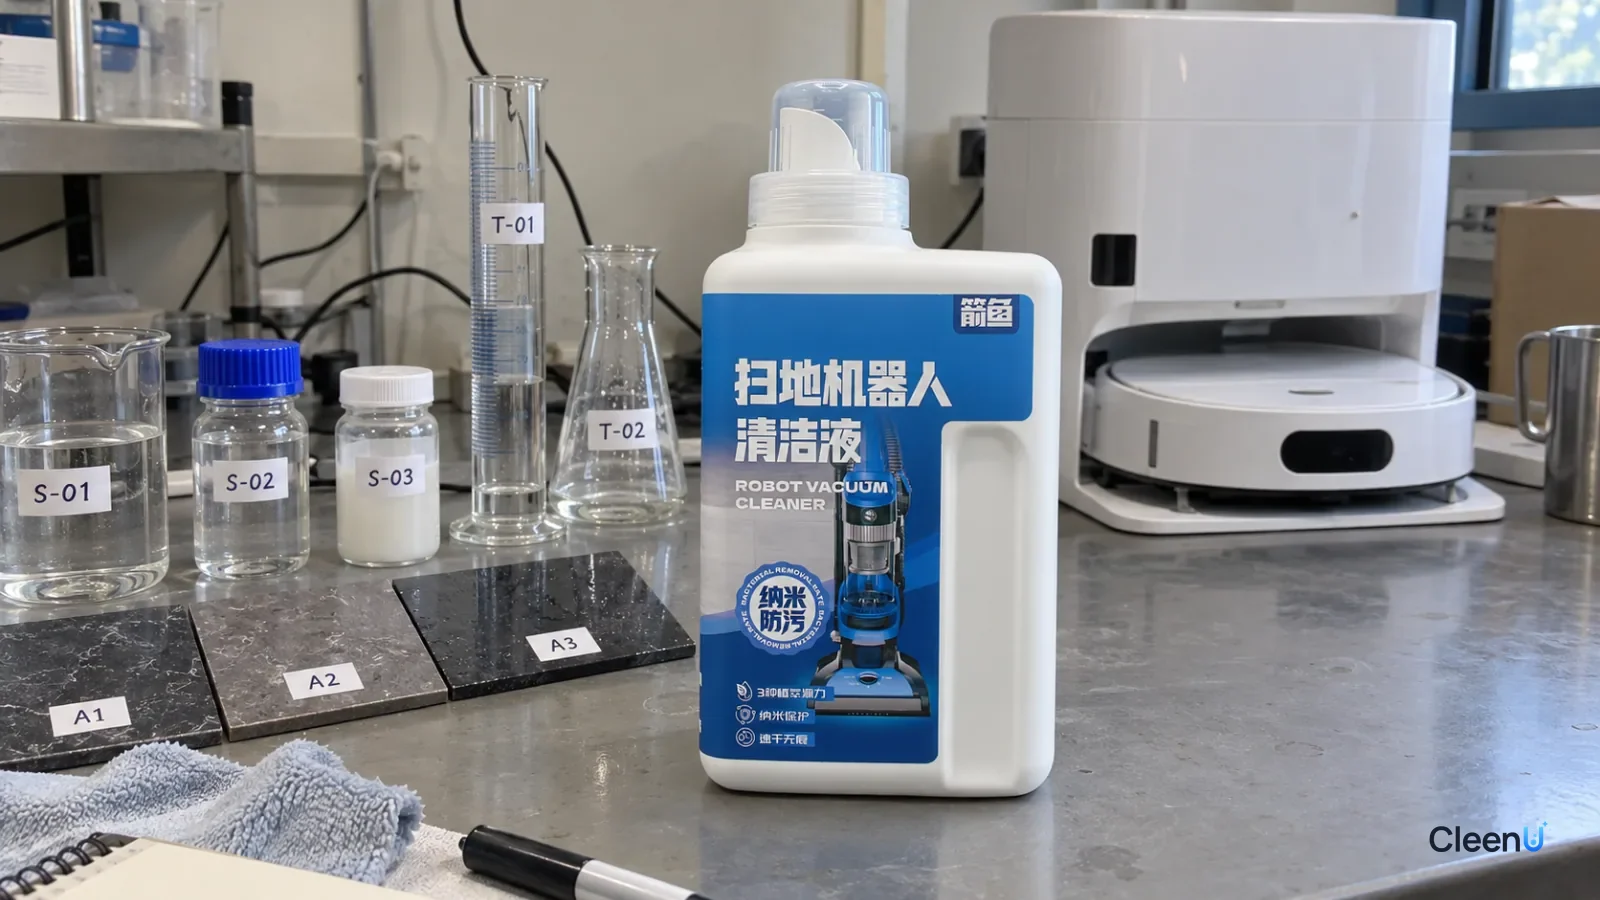
When brands receive solution samples, the usual check is to pour one into the robot, mop once and see if the floor looks clean. That catches obvious problems, but many key issues don't show up in one run. Foam builds only after the dock scrubs the pads repeatedly, residue turns tacky only after several days, and seals only swell after soaking for a while.
A simple, repeatable evaluation method blocks most of those risks before launch, and gives you and the factory the same yardstick when you say "too much foam" or "some residue."
Why these three?
Foam: robot mops and self-cleaning docks are most sensitive to foam. It trips dirty tank level sensors, makes the pump draw air and can spill into the airflow path. It's the most common source of bad reviews.
Residue: robot mops don't rinse, so residue builds on the same floor every day and turns tacky, slippery or streaky. It's the problem people discover weeks later.
Device compatibility: the solution sits against tanks, seals and tubing for a long time. Incompatible materials swell, crack or leak, and residue can clog outlet holes and dosing compartments. It's the costliest problem for customer support.
Cleaning power matters too, but if a robot mop solution fails these three, great cleaning won't get it into the machine.
What you need for the three evaluation tests
- Sample
- The solution under test diluted at the label ratio, one batch at each end of the range; plain water as a control; one set per supplier if comparing several
- Conditions
- Tap water typical of the target market; room temperature; the same ratio, dose and technique for every sample
- Equipment
- Graduated clear cylinders or clear bottles, a timer, dark tile or glass panels, soft cloths, a flashlight; tank plastic, seal and tubing samples with capped glass jars; a prototype of the target machine
- Pass criteria
- Foam clearly subsides within the set time and approaches the water control; no obvious haze, streaks or tackiness after drying; no noticeable swelling, hardening, cracking or discoloration of material samples; no false full alerts, normal water flow and non-tacky floors during continuous machine runs
Five steps from the bench to the machine
Foam test
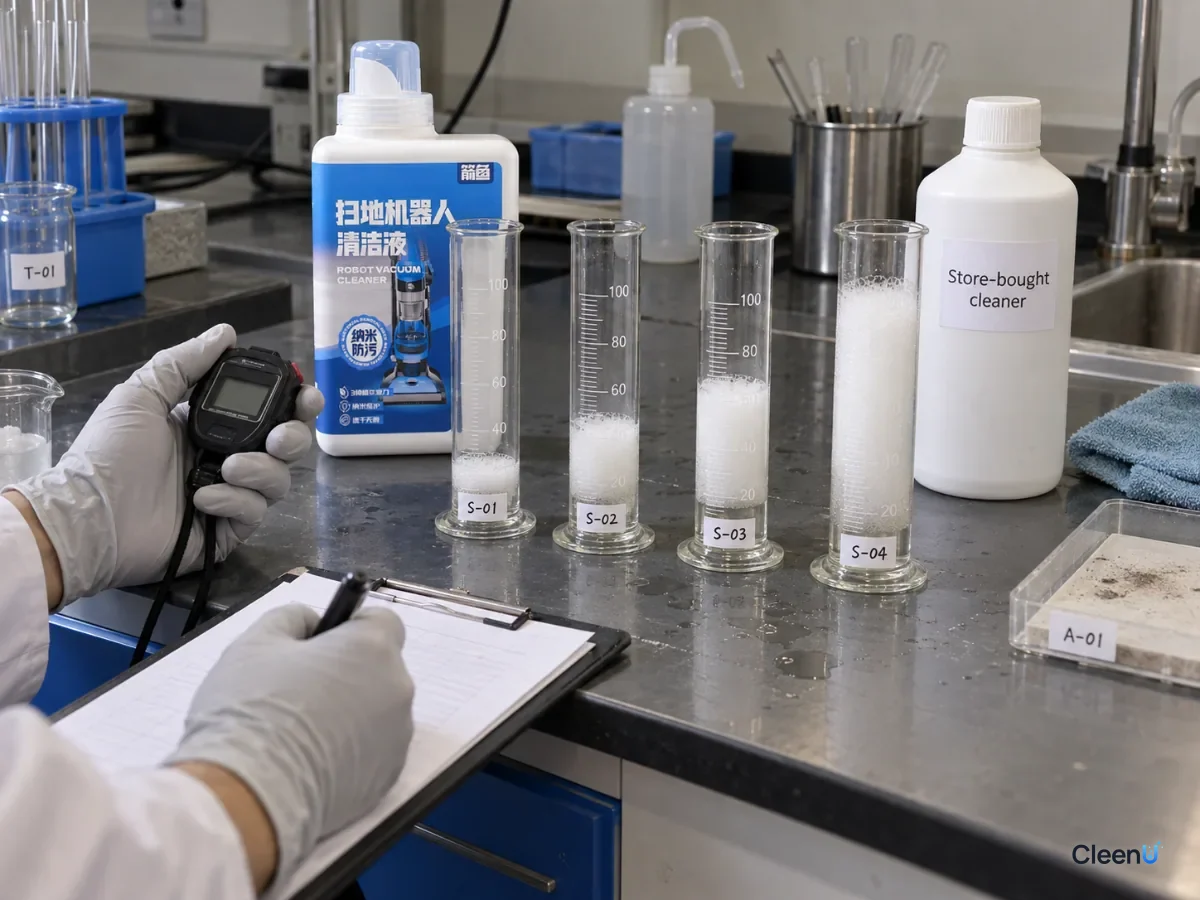
Put the diluted samples and the water control into identical graduated cylinders or clear bottles, filled halfway. Shake or agitate each the same way for about 10 seconds, record foam height immediately, then again at 1 minute and 5 minutes.
Caution:Always test at working strength, not concentrate, and handle every sample the same way so results are comparable.
Residue test
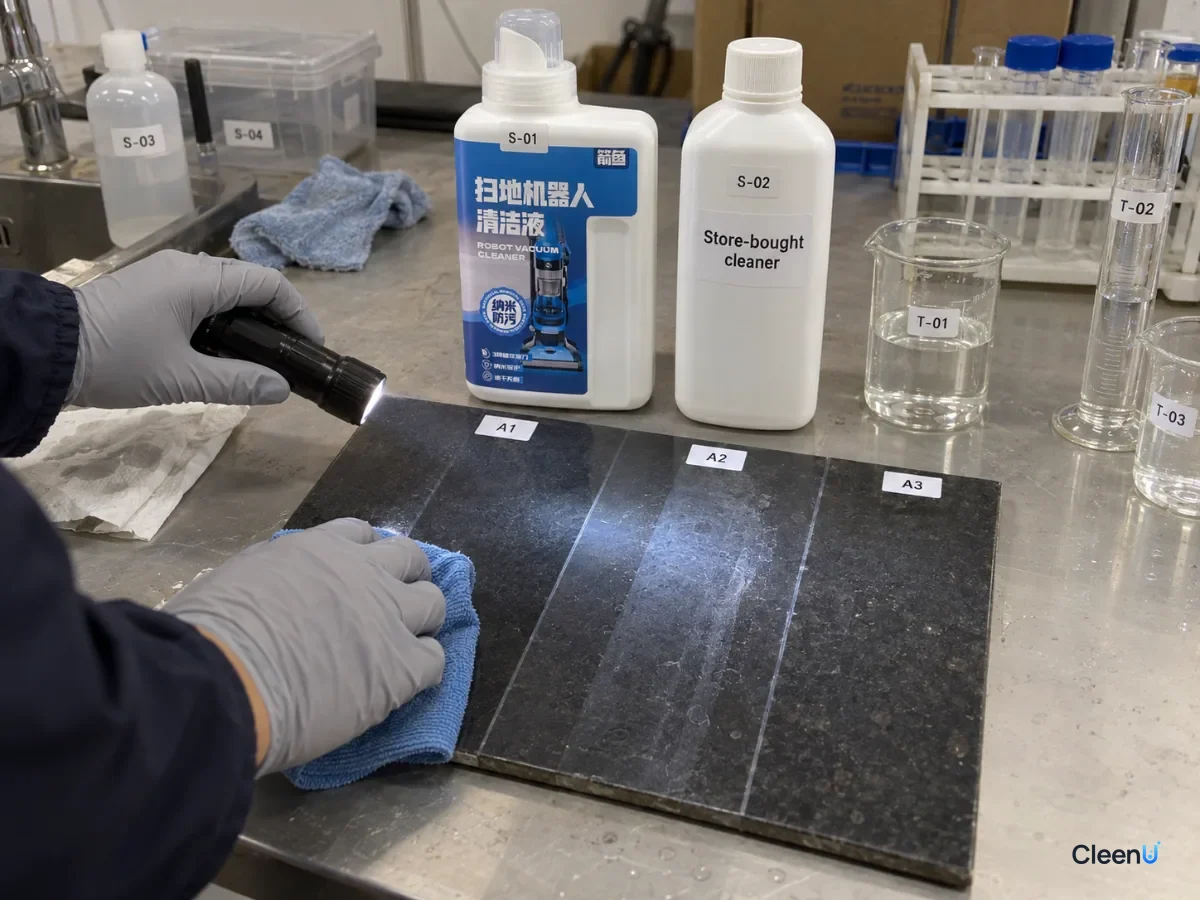
On dark tile or glass, wipe one stripe of diluted solution and one of water with a soft cloth and let them air-dry. Check for haze and streaks in side light, feel for tackiness with a fingertip, and wipe with a dry dark cloth to see if residue transfers. Repeat coating and drying in the same spot several times to mimic days of buildup.
Material compatibility test
Soak tank plastic coupons, seals and tubing samples in diluted solution and in plain water in capped jars for a set period. Take them out regularly and compare size, hardness, surface gloss and color. A set in concentrate shows behavior under harsher conditions.
Continuous machine runs
On the target machines, add solution at the label ratio and mop normally every day for several days. Each run, note dirty tank foam, any false full alerts, how evenly water flows and whether auto-dosing works, and check the same floor area for feel and side-light appearance.
Summarize and decide
Put every result in one table and compare against the water control and other samples. For any failing item, write down what happened and under what conditions, send it to the factory, and retest the next round the same way.
Reading the foam test
Watch two numbers: initial foam height and how fast it collapses. Low-foam formulas foam little and collapse fast, down to a thin layer within a minute. High-foam formulas start tall and are still piled up at five minutes.
Compare with the water control. Water makes a few bubbles that vanish in seconds. The closer a sample is to water, the more confidently it can go in the machine.
Test both ends of the dilution range. Users often add a bit extra, so testing at the strong end shows how much headroom the formula has.
The bench foam test is a first screen. Dock scrubbing plus proteins and oils in wastewater make foam more stable, so real-machine behavior has the final word.
Reading the residue test
Haze and streaks: in side light, does the sample stripe show haze, edge lines or spots compared with the water stripe?
Feel: does a fingertip drag, stick or feel unusually slick?
Transfer: does a dry dark cloth pick up any white residue?
Buildup: after coating and drying the same spot several times, do those three get noticeably worse? Robots mop the same floor daily, so buildup tells you more than a single pass.
Reading the material compatibility test
Size: have seals or tubing grown thicker or longer (swelling) or shrunk?
Hardness: squeeze them. Are they noticeably softer, stickier, harder or more brittle?
Appearance: are plastic coupons hazy or finely cracked, especially at stressed spots, or discolored?
Control: compare with the samples in plain water to rule out ordinary aging.
Compatibility problems often take time to appear, so soak long enough. If you can, run it at a somewhat higher temperature to speed things up. For more detail, see testing cleaning solution against robot vacuum seals and tubing.
Beyond the three tests, also confirm
Stability: after time at high and low temperatures, does the sample separate, change color or thicken?
Packaging: do the measuring cap markings match the label ratio, does the spout line up with the clean tank and dosing compartment, and does it leak when inverted?
Label: do the ratio, fill location, compatibility and exclusions match the test conditions?
Same lot: are the samples you tested the same formula and packaging as production?
How CleenU supports your evaluation
CleenU ships samples with a suggested ratio and test method so you can repeat the tests on your own machines under the same conditions. For any item that doesn't pass, we adjust using the same method and send the next round. Our current robot mop solution is a neutral, low-foam concentrate at pH 6.5 to 7.5 with low-foam nonionic surfactants and a defoamer, no wax, no chlorine and no particles, diluted at about 1:50 to 1:100, usually 10 to 20 mL per fill. It works in most robot mops from Roborock, iRobot (Roomba Combo and Braava), Ecovacs Deebot, Dreame and Narwal, and in floor washers such as Tineco. CleenU isn't affiliated with these brands; the names only indicate compatibility. Free samples ship in 3–5 days, MOQ starts at 500 bottles, and bulk is scheduled after packaging and labels are approved, subject to the formal quote. For why samples keep bouncing, see why private-label robot mop solution samples keep failing on foam and residue.
Don't forget to test cleaning power
Foam, residue and compatibility are the entry bar, but in the end the product has to clean. Add a simple cleaning comparison to your evaluation.
Prepare several identical light floor panels and apply the same simulated soil to each, for example a little cooking oil mixed with dust, or skin-oil fingerprints, and let it dry and set for a while.
Using the same pad swatch, pressure and number of passes, wipe with plain water, the diluted test sample and a diluted reference sample.
Compare in side light and photograph the results. Give each panel a different code that matches its sample.
This isn't about precise numbers. The point is whether it cleans at the label dose, and whether it clearly beats water and the reference.
Keeping records the factory can act on
For every test, record the sample code, batch, dilution ratio, water, temperature, test date and who ran it. Pair photos with short descriptions, such as "foam collapsed to a thin layer within one minute" or "slight haze visible in side light after drying." Send records and photos to the factory so they can reproduce the conditions and adjust faster.
This article is part of the Robot Vacuum Cleaning Solution & Maintenance Guide, which covers the full maintenance schedule and links to every troubleshooting guide.
What brands ask about evaluating robot mop solution samples
Isn't one run in the machine enough?
No. Foam builds only after repeated dock scrubbing, residue accumulates over days, and seals change only after soaking. One mopping run rarely reveals these.
Should the foam test use concentrate or diluted solution?
Diluted at the label ratio, ideally at both ends of the range. Concentrate is too strong for the result to mean anything.
Why use dark panels for the residue test?
Dark, glossy surfaces show haze and streaks most clearly, which matches the floors where residue is most visible.
How long should materials soak?
Long enough for slow changes to show, set per project and material; longer reveals more. Check them regularly against samples soaking in plain water.
How many days should machine testing run?
Several consecutive days of normal daily mopping, to cover residue buildup and changes in the lines. For auto-dosing models, also check the compartment after a few days.
What are the MOQ and lead time?
MOQ starts at 500 bottles, free samples take 3–5 days, and bulk is scheduled after packaging and labels are approved, subject to the formal quote and order confirmation.
To use a clearly specified neutral, low-foam formula as your benchmark sample, request the CleenU Robot Vacuum Cleaning Solution.
Evaluate robot mop cleaning solution samples with at least three tests: foam height and collapse at working strength, residue and feel on dark panels after drying, and material compatibility by soaking tank plastics, seals and tubing in diluted solution. Run all three against a water control and use the same method for every supplier. Once samples pass on the bench, run the target machines for several days and watch for false full alerts, water flow, auto-dosing and floor condition. That blocks most risks before launch and gives brands and factories a shared yardstick.