
Testing & Quality
Testing Cleaning Solution Against Robot Vacuum Seals and Tubing
Direct answer
Soak seals, tubing and tank plastic coupons in cleaning solution at working strength, with a plain water control, at set temperatures and times. Take them out regularly and compare size, hardness, surface and color. Clear swelling, hardening, cracking or discoloration means the material and formula aren't compatible.
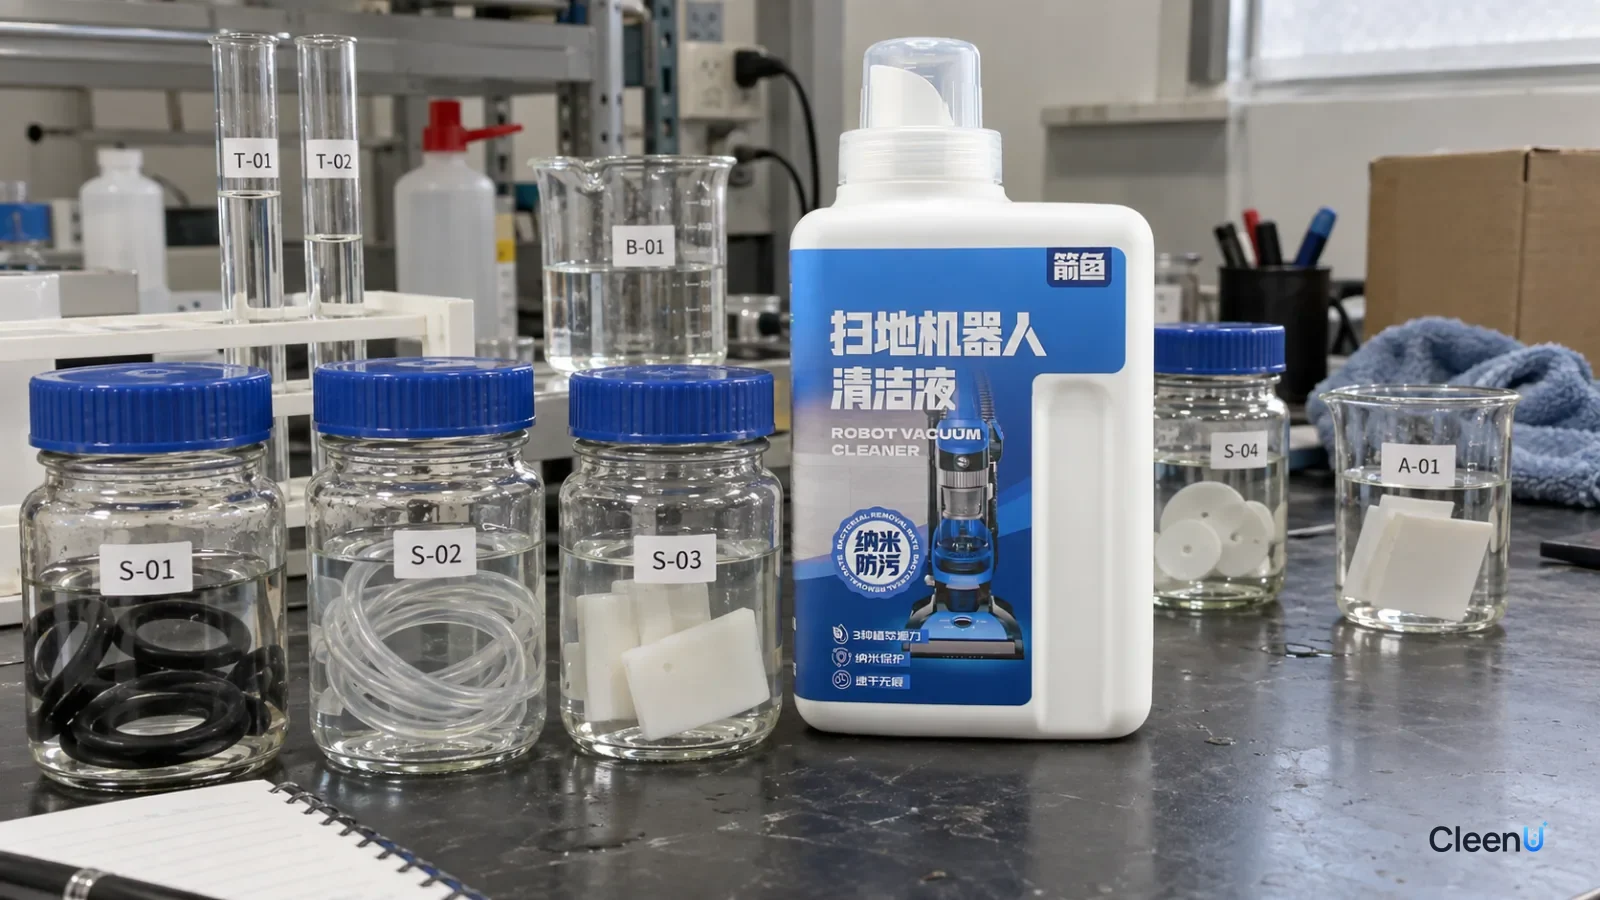
A robot mop's clean tank, dosing compartment, pump and lines sit in cleaning solution every day. A solution that's gentle on floors isn't automatically gentle on those plastics and rubbers. Swollen seals leak, hardened tubing cracks, and fine cracks in a plastic tank seep. These problems often take months to show up, and by then they're a stream of machines coming back for repair.
So whether a brand is developing its own solution or a robot maker is creating a bundled one, material compatibility testing is a step you can't skip.
How can a cleaning solution damage materials?
Swelling: rubbers and some plastics absorb certain ingredients, such as solvents, terpenes in fragrance or some surfactants, and grow and soften. A swollen seal rebounds poorly under compression, then shrinks as it dries, and after a few cycles it leaks.
Extraction and hardening: the liquid pulls plasticizers and processing aids out of rubber, which loses elasticity and turns hard and brittle, so tubing cracks at bends.
Environmental stress cracking: some clear plastics, such as polycarbonate and acrylic, develop fine crazing where internal or assembly stress meets certain surfactants or solvents, and the crazes can grow into cracks. Tank latches, screw bosses and fittings are the usual spots.
Chemical degradation: strong acids, strong alkalis and strong oxidizers such as chlorine products can yellow, embrittle or chalk some materials.
Discoloration and odor pickup: plastics and rubbers absorb dyes and fragrance, changing color or holding a smell.
What each common material is sensitive to
PP (polypropylene): good chemical resistance, common in tanks and caps; some tendency to swell with certain aromatic solvents and essential oils.
ABS: rigid with a good finish; can crack under certain solvents and surfactants combined with stress.
PC (polycarbonate): clear and strong but fairly sensitive to stress cracking and not resistant to strong alkalis.
Silicone: heat- and age-resistant, common for seals; swells with some oils and solvents.
EPDM: resistant to water, alkalis and aging, well suited to water paths; swells noticeably with mineral oils and terpenes.
NBR (nitrile): good oil resistance; more sensitive to some polar solvents, ozone and chlorine.
Knowing these traits helps you decide which combinations to watch most closely.
What you need for an immersion compatibility test
- Sample
- Seals, tubing sections and tank or dosing compartment plastic coupons from the target machine, ideally from production parts; solution diluted at the label ratio, full-strength concentrate, and plain water as a control
- Conditions
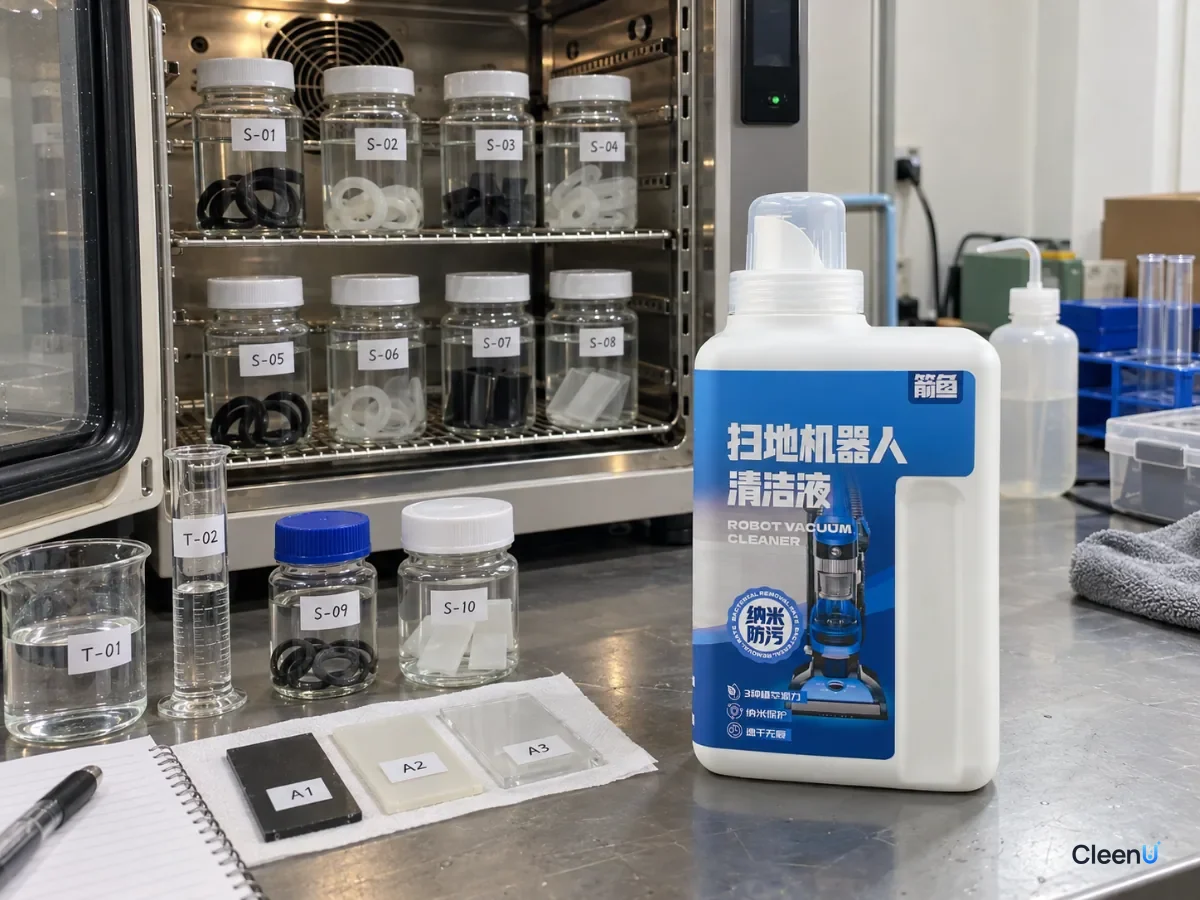
- A room-temperature group and a moderately heated group for accelerated observation; samples fully submerged; containers sealed to prevent evaporation; every container and sample labeled with a different test code
- Equipment
- Capped glass jars, calipers, a durometer or side-by-side feel comparison, a scale, a magnifier or microscope, a camera and a record sheet
- Pass criteria
- Compared with the water control, small changes in size, mass and hardness; no cracking, crazing, tackiness or chalking; no clear change in color or surface gloss; no cracks in stressed samples such as latches or bent tubing
Six steps for a material compatibility test
Prepare and code the samples
Cut each material into similar-sized pieces and code each one (for example M-01, M-02, M-03). Record starting size, mass, hardness and color, and photograph them.
Caution:Put the codes on the container labels too, with a different code for every sample and container so nothing gets mixed up when you pull samples.
Soak in groups
Split each material into three groups: water control, working-strength solution and concentrate. Submerge the samples fully and cap the jars tightly.
Add stressed samples
Bend and clamp plastic coupons into a curve, or use real parts with latches and screw bosses, to simulate assembly stress and watch for stress cracking.
Set temperature and time
The room-temperature group reflects everyday use. The heated group speeds things up; keep the temperature within a reasonable range for the materials and formula. Set the soak duration per project and check samples at intervals.
Pull and measure regularly
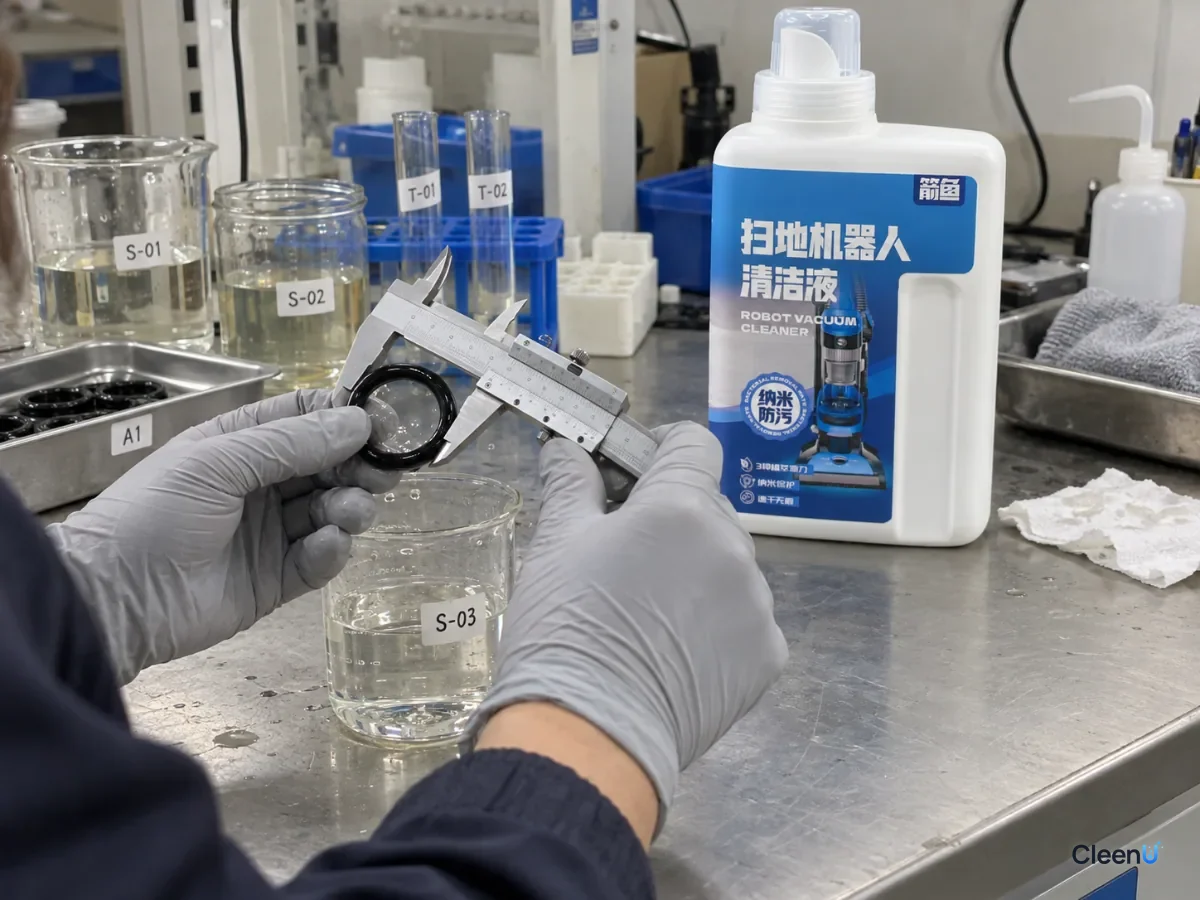
Blot samples dry with a soft cloth, measure size, mass and hardness, check for tackiness, crazing, cracks or chalking, compare color and photograph them. Then return them to soak.
Compare and decide
Compare each group with the water control to rule out ordinary aging. For combinations that change noticeably, adjust the formula or switch to a more resistant material.
Reading the results
Size and mass: seals or tubing that grow thicker or heavier are swelling; thinner or lighter means something is being extracted. The less change versus the water group, the better.
Hardness: measure with a durometer or compare the feel against water-group samples. Clearly softer or tacky points to swelling or degradation; clearly harder points to plasticizer loss.
Surface: under a magnifier, look for fine crazing or cracks, especially at bends, latches and edges, and for tackiness or chalking.
Color: compare against the starting photos and water group for yellowing, whitening or other shifts.
Why include a concentrate group? Users may pour concentrate straight into a dosing compartment, and concentrate can sit around bottle necks and compartment openings. The concentrate group shows how materials hold up in the worst case.
Beyond the soak test
Immersion testing is bench validation. The final word comes from real machines: run the target models at the label ratio for a while and check the tanks, dosing compartment and lines for leaks and normal water flow. For the full evaluation process, see how to evaluate robot mop cleaning solution samples.
On the formula side, material risk is reduced by choosing a neutral or near-neutral pH and avoiding strong acids and alkalis, avoiding solvents that swell plastics and rubbers, controlling fragrance type and amount, and leaving out chlorine. CleenU Robot Vacuum Cleaning Solution, for example, is a neutral, low-foam concentrate at pH 6.5 to 7.5 with low-foam nonionic surfactants and a defoamer, no wax, no chlorine and no particles. It dilutes at about 1:50 to 1:100; 10 to 20 mL per fill is usually enough.
It works in most robot mops from Roborock, iRobot (Roomba Combo and Braava), Ecovacs Deebot, Dreame and Narwal, and in floor washers such as Tineco. Add it to the clean water tank or the dock's designated detergent compartment as your manual directs. CleenU isn't affiliated with these brands; the names only indicate compatibility. For why essential oils attack plastic and seals, see can you add essential oils to a robot mop tank.
Incompatibility signs you can see at home
Material problems leave clues at home too. If you notice any, stop and check.
The clean tank turns hazy or shows fine cracks, especially near latches or screws.
Seals on the tank lid or dosing compartment lid go soft, warp or bulge, and the lid won't close tightly.
Water marks appear at the bottom of the dock or around tank fittings.
Tubing stiffens or discolors, with fine cracks at bends.
The inside of the dosing compartment darkens or develops a film that won't come off.
If you see these, stop using the current liquid, run with plain water only and contact the machine maker's support. Also think back to whether essential oils, alcohol, chlorine products, vinegar or hot water ever went in.
Why compatibility has to be checked model by model
Tanks, seals and tubing can differ in materials and design from brand to brand and model to model, and even new and old models of the same brand may change materials or suppliers. A solution that's fine in one brand's machine isn't automatically fine in another's.
That's why compatibility claims say "most models" and "follow your manual" rather than claiming a universal fit. For brands, including material samples from their main target models in compatibility testing is the most direct way to control support risk.
How long is long enough?
Material problems are often slow. Swelling, plasticizer loss and stress cracking may show early signs within days or take weeks or longer to become obvious. So tests can't be too short, and you need to watch the trend across several time points rather than only the final check. A heated group speeds observation, but judge it alongside the room-temperature group to avoid false alarms that only occur in heat, or missing problems that develop slowly at room temperature.
This article is part of the Robot Vacuum Cleaning Solution & Maintenance Guide, which covers the full maintenance schedule and links to every troubleshooting guide.
Common questions about solution compatibility with seals and tubing
If a solution is neutral, does it still need compatibility testing?
Yes. Neutral pH doesn't mean gentle on every material. Fragrance, solvents and some surfactants can still swell rubber or stress-crack plastic.
How long should samples soak?
Long enough for slow changes to show, set per project and material; longer reveals more. Check at intervals against the water group, and use a heated group to speed things up.
Why use production parts as samples?
Material formulations vary by lot and supplier, so production parts give results that reflect real use.
No durometer. How do I judge hardness?
Compare feel and bend recovery against water-group samples of the same material. A durometer is more precise if you have one.
A seal swelled in testing. What now?
Adjust the formula, for example by reducing the responsible solvent or fragrance, or switch to a more resistant seal material, then retest the same way.
Should homeowners run this test?
Usually not. Choose a neutral product labeled for robot mops with no chlorine or solvent-type fragrance, dose at the label ratio, and stop using it and contact support if the tank clouds or leaks.
For a neutral, chlorine-free, low-foam formula to use as a compatibility-test reference, request the CleenU Robot Vacuum Cleaning Solution.
Whether a robot mop cleaning solution harms tank seals and tubing is answered by material compatibility testing. Soak production seals, tubing and tank plastic coupons in three groups, water control, working strength and concentrate, at room temperature and a moderately raised temperature. Pull them regularly to measure size, mass and hardness, and look for crazing, cracks, tackiness and color change, with stressed samples to catch stress cracking. Give every sample and container a different test code so nothing gets mixed up. Once samples pass on the bench, confirm with continuous real-machine runs. A neutral pH, no chlorine and controlled solvents and fragrance are the formula basics for low material risk.